When Google announced and released Android, back in October 2008, everyone knew that it would become the best operating system for mobile devices. Not only is Android open source, but it also comes with a Software Development Kit, which offers the necessary APIs and utilities for developers to easily build powerful applications for Android-powered mobile devices. The following tutorial was created especially for those of you who want to test the Android platform and install various applications, on the popular Ubuntu operating system. OK, so let's get started... shall we?
Grab the Android SDK 1.5 from Softpedia and save the file on your home folder. It has around 160 MB, so it will take a while if you have a slow network connection.
Step 1 - Installing the requirements
Until the download is over, make sure that you have Java installed and the 32-bit libraries (for the x86_64 users only). If you don't have Java and/or the 32-bit libs, go to System -> Administration -> Synaptic Package Manager...
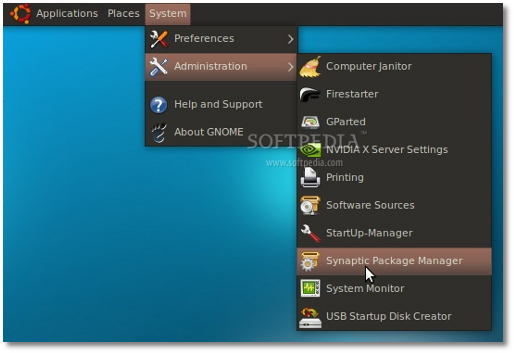 |
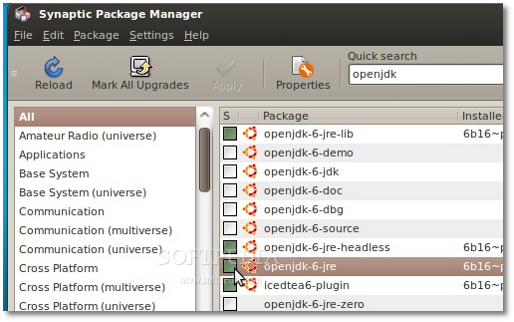
...search for openjdk and double-click on the openjdk-6-jre entry...
 |
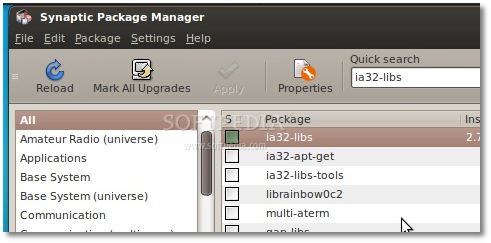
...then, search for ia32-libs (ONLY if you are on a x86_64 machine), and double-click on the ia32-libs entry...
 |
Now, click the "Apply" button to install the requirements. Wait for the packages to be installed and close Synaptic when the process is finished.
Step 2 - Android Setup
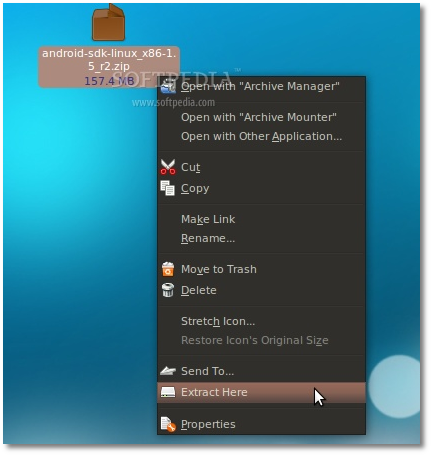
When the Android SDK download is over, right-click on the file and choose the "Extract Here..." option...
 |
Open a terminal (Applications -> Accessories -> Terminal) and type or paste the following commands, one by one (hit Enter after each one):
cd ~/android-sdk-linux_x86-1.5_r2/tools
...let's create a 2GB SD Card (I think 2GB is more than enough, but if you need more just change the size)...
./mksdcard 2048M SDCard1
...wait a couple of minutes for the card-creation process to finish.
And now, let's create the Android Virtual Device...
./android create avd -n softpedia -t 2
Hit Enter when asked if you wish to create a custom hardware profile, and you'll be immediately notified that the virtual device was created, for Android 1.5.
Note: You can replace "softpedia" in the above command with whatever name you want to give to your Android device. If you want a virtual device for the Android 1.1 platform, replace 2 with 1, in the above command.
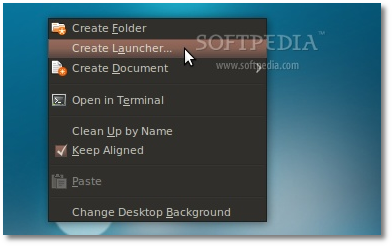
The final step is to create a desktop shortcut, so you won't have to open the terminal every time and type some command, in order to start the Android emulator. Therefore, right-click on your desktop and choose the "Create Launcher..." option...
 |
In the Create Launcher window, type "Android Emulator" (without quotes) in the Name field, and paste the following line in the Command field. Optionally, you can also put a nice icon if you click the button on the left...
/home/YOURUSERNAME/android-sdk-linux_x86-1.5_r2/tools/emulator @softpedia -sdcard /home/YOURUSERNAME/android-sdk-linux_x86-1.5_r2/tools/SDCard1
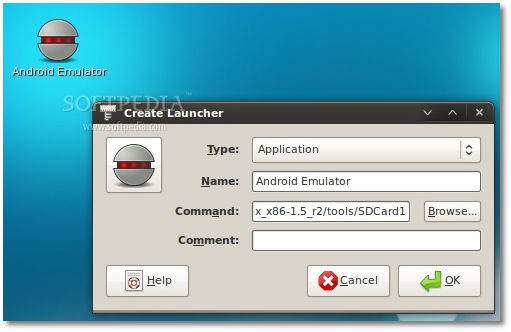 |
Note: Please replace YOURUSERNAME and the name of the Android Virtual Device (softpedia in our case) with yours. DO NOT REMOVE the @ sign.
Step 3 - Run applications in Android
All you have to do now is double-click that desktop shortcut you've just created. The Android emulator will start. Wait for the operating system to load...
When the Android operating system has loaded, you can install and test applications. If you are used with the Android platform, you already know how to do that, but if this is your first time... follow the next instructions.
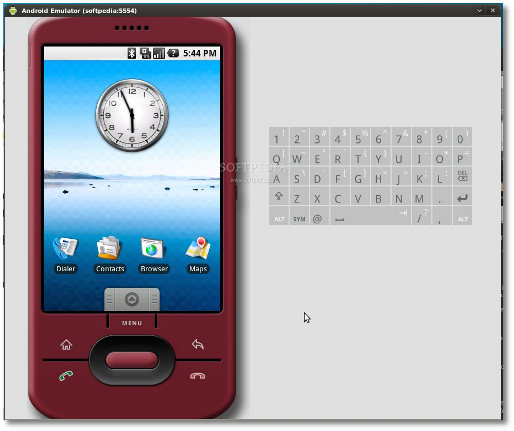 |
| Android 1.1 |
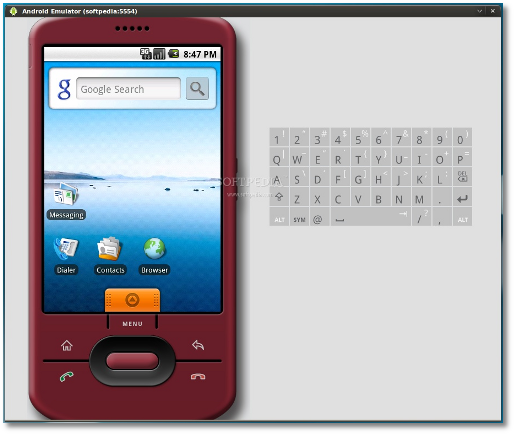 |
| Android 1.5 |
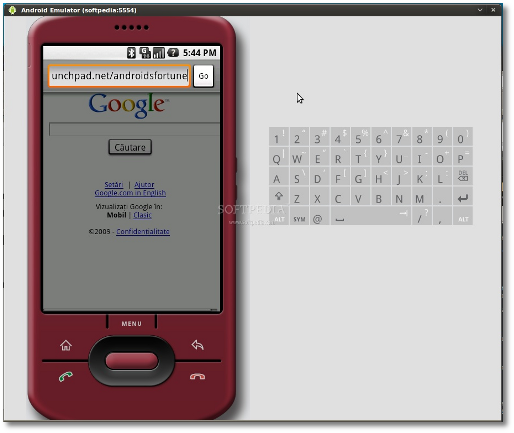
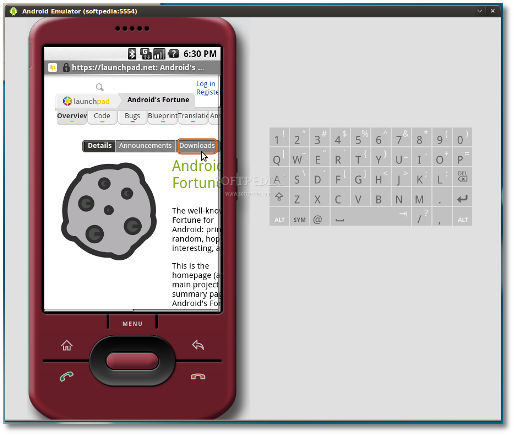
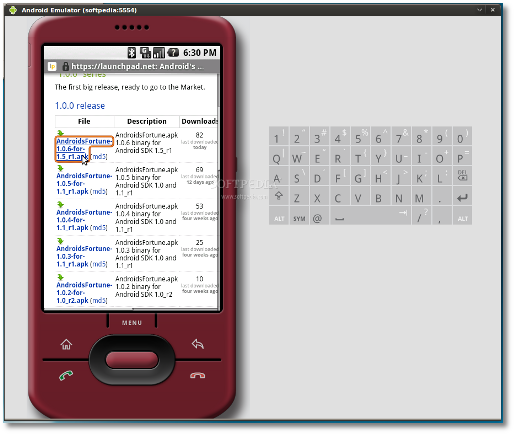
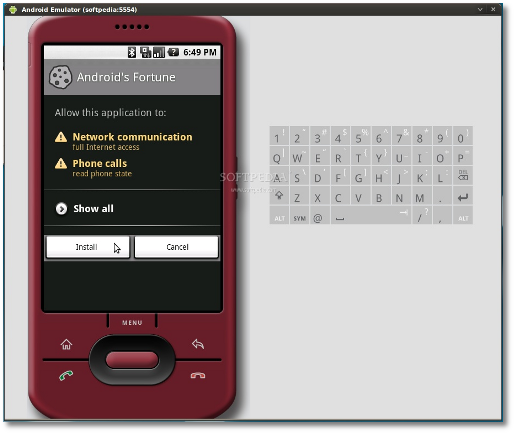
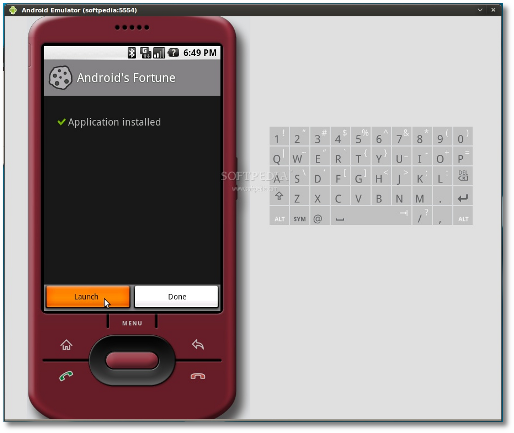
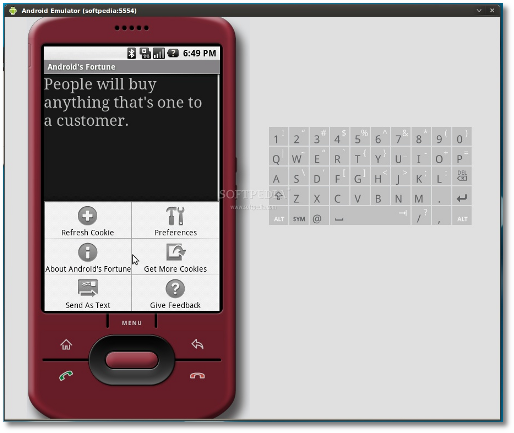
Click the Browser icon, wait for the browser to load and click Menu -> Go to URL. Enter the address from where you can download an Android application with the apk extension. For example, we've easily installed Android's Fortune from Launchpad...
 |
 |
 |
 |
 |
 |
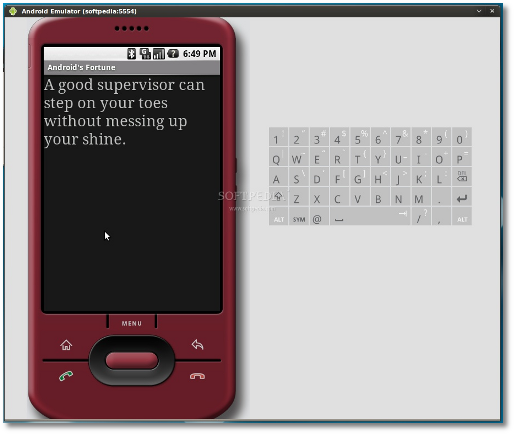 |
...all you have to do is follow the on-screen instructions!
Have fun, and do not hesitate to comment if you want to know more about Android, or if you're stuck somewhere in the tutorial.
No comments:
Post a Comment